All Things Andrea

All Things Andrea

Thursday, September 20, 2012

Better Brown Rice


I just came across the article "Better Brown Rice" in the September issue of Martha Stewart Living magazine and was intrigued - their food editors say to ignore the cooking instructions found on most brown rice packages and use less water and cook it for a shorter period of time, yielding "fluffy, nutty-flavored grains that hold up well in the refrigerator or freezer."  I can never seem to get my brown rice to turn out right - I usually end up burning it or end up with a mushy mess.  And, because of my dilemma, I was considering purchasing a rice maker, even though I hated the thought of adding another appliance to my cupboard.  So, I thought it was certainly worth giving this method a try.  And it was definitely worth it!!  It resulted in almost a totally different product!  I'm eager to try this with fried rice and several other salad recipes using cooked rice.  Hooray!

Directions:
1 c. long-grain brown rice
1 1/4 c. water (1 1/2 c. if using short-grain rice)*
1/4 t. sea salt

Bring rice, water and salt to a boil in a wide, shallow pot with a tight-fitting lid.  Cover and reduce to a slow, steady simmer.  30 minutes should be plenty. 

After 30 minutes, remove from heat and let the cooked rice sit for 10 minutes, covered, to absorb maximum moisture.  Remove the lid, and fluff the grains with a fork.

Yields about 2 1/2 c.

*Note - I found that I preferred using 1 1/2 c. water even when using long-grain brown rice.  Also, you may wish to add more salt, depending on how you will be serving the rice.

Sunday, September 16, 2012

Fort Hunter Day 2012


I had another enjoyable day at Fort Hunter Day this year,


demonstrating hand quilting,


hand applique, and yo yo's (gotta love those yo yo's!).

It was so much less work than last year or the year before - all I had to do was load up a few things and enjoy a day of stitching and interacting with the guests!  I also had the chance to pop in to see the quilt display over at the Centennial barn.  The African American Quilters Gathering of Harrisburg, a newly formed quilt guild, put together an amazing display of their quilts - I had never seen or experienced anything like it.  So much energy and life eminated from their quilts!!  It was fun meeting and chatting with some of their members.


It was a beautiful day,


 and a wonderful setting.


Wednesday, September 12, 2012

This is what happens....


... when you wait too long to pick your eggplant!  I'm ashamed to even admit it - I had two beautiful, glossy purple eggplants hanging from my plant, but I kept procrastinating picking them because I just didn't know how I wanted to prepare them.  I know they're best eaten immediately after harvesting, so I didn't want to pick them until I was ready to cook them.  I had tried cooking eggplant a few years ago, and wasn't impressed, but since them I have collected a number of yummy-sounding recipes.  So, even though I was determined to find a better way to prepare this gorgeous produce, I just didn't have the time or mental energy to tackle it.  Then, the plant blew over in a rainstorm and ended up being hidden by a huge bunch of  kale; I basically forgot about it until the other evening when I was cleaning up the garden.

Since I had been so irresponsible in letting these precious vegetables get this mature, I decided I would eat them anyway as pennance.  I remembered an Italian co-worker telling me that mature eggplants are fine to use as long as you peel them.  So, I selected one of the eggplants, held my breath and cut it open, expecting it to be brown and nasty-looking inside. 


It wasn't!  In fact, it looked just fine to me (but what would I know?!).  I proceeded - I peeled it, cut it into cubes, tossed it in olive oil and and roasted it (my favorite way to cook any vegetable these days).

I was very pleasantly suprised to find that not only was it edible, it was delicious!!  (No pennance whatsoever!)  The texture was perfect, and it wasn't even bitter!  (I'm sure the roasting helped to sweeten any bitterness.)  I was so, so pleased!  I simply tossed it with some fresh mozzarella, fresh basil, a roasted red pepper and some wonderful sweet balsamic viniagrette.  (This basically ended up being a simple version of one of recipes I had collected.)  You can view my recipe (if that's what you call it!) here.

Fabulous!

Thursday, August 23, 2012

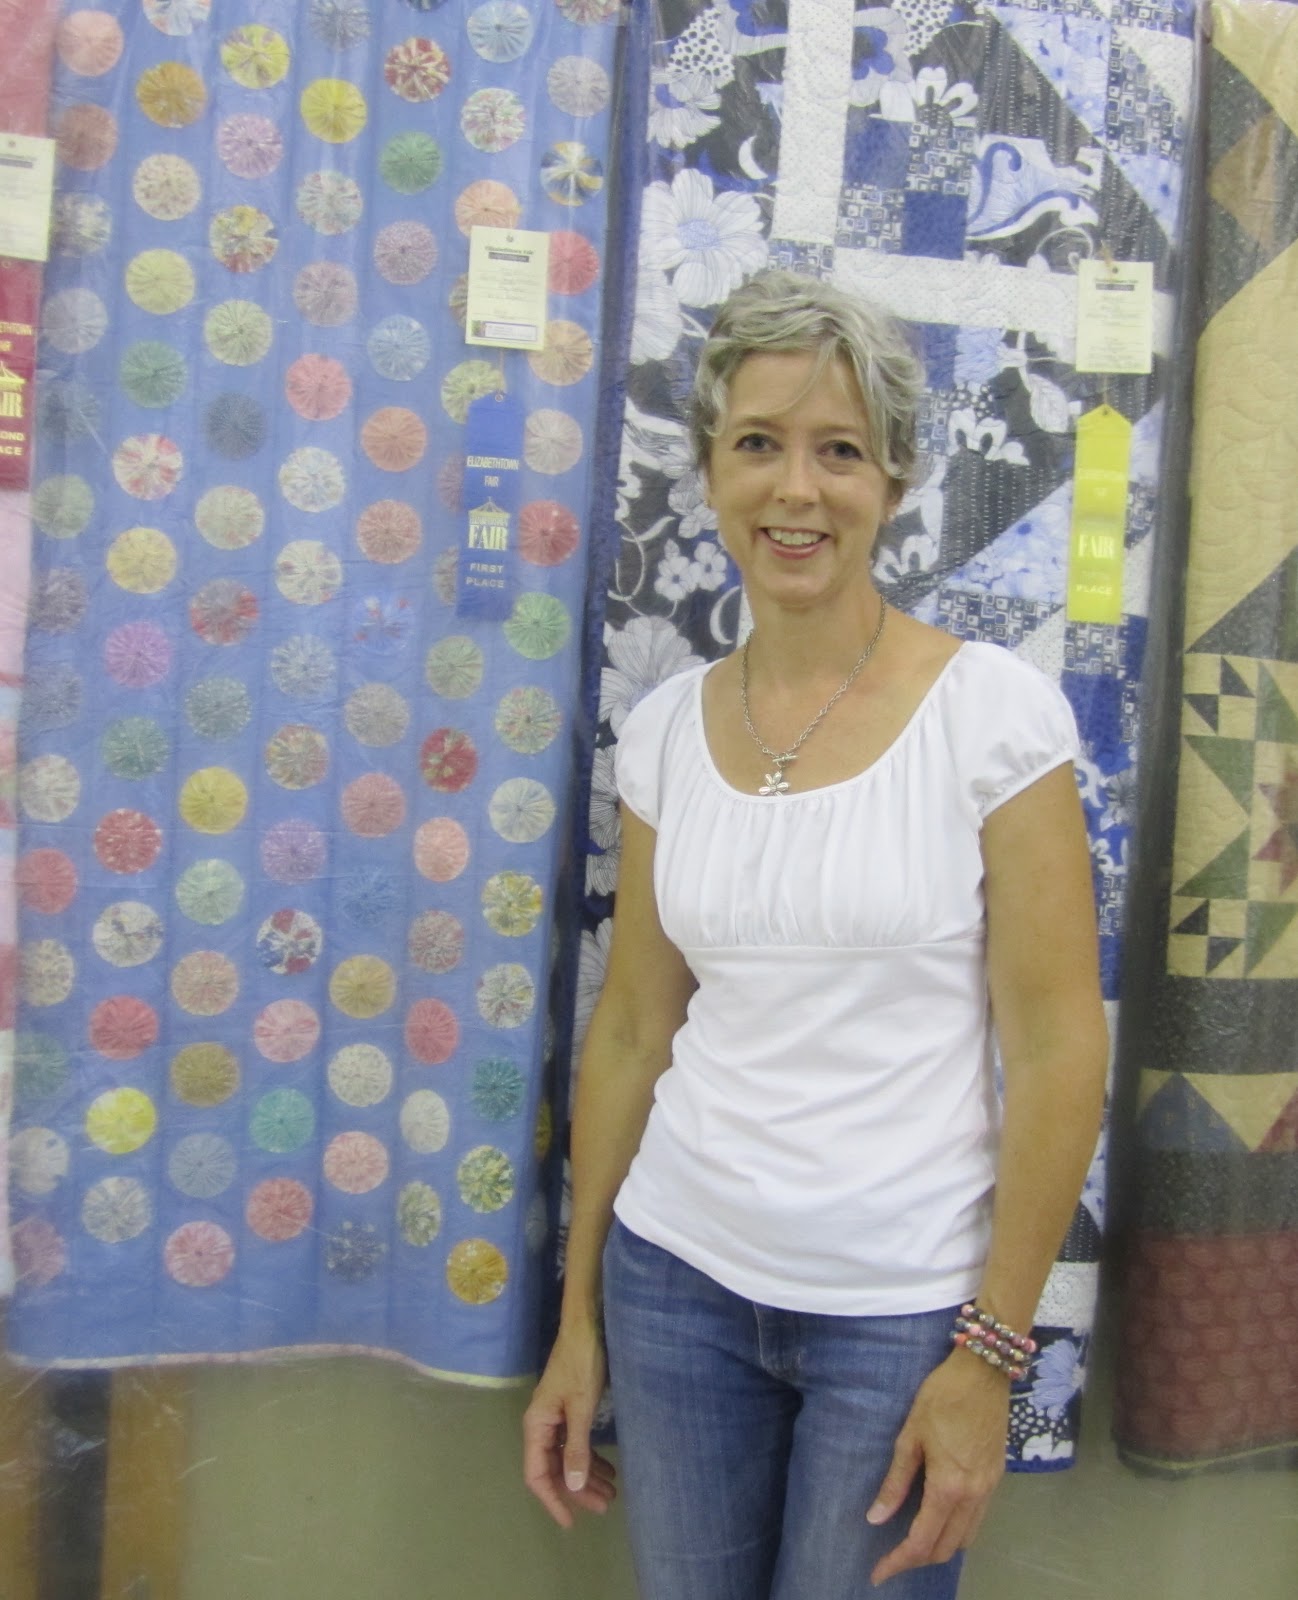
Elizabethtown Fair 2012

 409 Yo Yo's later!

A basket quilt comprised of 162 basket blocks made out of 1930's reproduction prints (I'd been working on this off and on for 5 years!).

The Snoopy T-shirt quilt I made for my sister Alison.

I also entered a quart jar of Corn Cob Stock (did you even know there was such a thing?!),

some dehydrated blueberries,

a variety of herbs,

my beloved garlic (unfortunately, the judges weren't as enamored with it as I am!),

and a Christmas ornament made out of buttons from my mother's button jar (way too much competition in this category).

My sister and Ricky also entered a few things; here's his white-ribbon gel candle.  :)

I also thoroughly enjoy looking at the other entries.  Here's a few of my favorites:

My neighbor's Christmas tree artwork made out of her family's vintage jewelry


Thursday, August 9, 2012

Today's Thrift Shop Find


Love, love, love this vintage apron!


And, what a steal for $2.50!


It will be happy to join my collection of vintage aprons!  :)

Tuesday, August 7, 2012

Freezing Kale


I have an abundance of kale in the garden, but still haven't figured out the best way to eat it (or at least prepare it in a way I enjoy!)!

So, I figured I'd freeze it and come back to it at a later date!

I followed these directions from Spring Lake Gardens:

1.  Start by washing the kale, then remove the stem from each leaf.  The easiest way to do this is to fold the kale in half along the stem and just cut one line down the edge of it.
2.  Chop the kale into smaller pieces.
3.  Bring a large pot of water to boil, then turn it down to a simmer.
4.  Put the kale into the hot water for 1-2 minutes - no more!  The goal is to kill the enzymes without cooking the kale.
5.  Immediately transfer the kale to a large bowl of ice water to stop the cooking action.
6.  Pat the kale dry, spread it out on a cookie sheet, and put it in the freezer.  (You could just stuff it into a bag and put it into the freezer, but then you'll have a big frozen block of kale later.  Spreading them out while they freeze allows them to be bagged frozen and loose.)
7.  After it's frozen, bag it.
8.  Enjoy later!!


Wednesday, July 11, 2012

Where to Next??


I always feel a bit troubled watching a newly released rabbit get its bearings...
:(

Saturday, June 30, 2012

Dinner Menu for a Fellow Gardener


My dear friend and mentor Elma is an amazing gardener and has blessed me with all kinds of produce over the years, so I wanted to make a special in-season meal for her and her husband using fresh produce from the garden.  Of course, I didn't think to take any pictures (partly because I was rushing around since I hadn't planned on needing to release a rabbit in the midst of my preparations - see post below!), but the food was yummy and she thoroughly enjoyed it, which meant the world to me.  She was also gracious about helping me finish up the food prep.

One of my goals for this summer is to share the beauty of my backyard by doing some entertaining and exposing people to the fabulous food that can be prepared from fresh, in-season garden produce.  It's a delight for me, because good food eaten in the company of people I enjoy makes the food taste ten times better.

Below is the menu (minus any pictures!):

The Menu:


Strawberry Sorbet with Fresh Whipped Cream

Gottcha!


Do baby bunnies count?

Thursday, June 28, 2012

Worth Contemplating


"That which, like a sea, threatens to drown you, shall be a highway for your escape."
- Charles H. Spurgeon

Girl Meets God


"... what I feel happening bears little relation to what is actually happening."

"Jesus is fishing for you, not to kill you but to give you life."

...  you don't merely follow the commandments, you beautify them."

-  Girl Meets God by Lauren F. Winner

Sunday, June 24, 2012

Pizza and Champagne!


I had a wonderful time last evening celebrating my 5-year cancer milestone with family and friends over pizza and champagne.  The weather was lovely, and it was a perfect way to celebrate health, honor dear ones who had walked with me, and to feature the in-season  food God so wondrously designed our bodies to be nourished by and enjoy.

One of the fruits of my cancer journey was discovering the "local/in-season/organic" approach to eating.  While I certainly wasn't happy about having to endure a cancer diagnosis and treatment, I will be eternally grateful for where I landed food-wise; it was very significant for me to celebrate that aspect of the journey last night as well.


Everyone pitched in and helped...


... young and old.


 Since garlic was one of the featured ingredients of the evening, it seemed only fitting to include the beautiful garlic scapes...


 ...as part of the decor, in addition to incorporating it into the menu.


The Menu:
 
Crostini Appetizers:
Goat Cheese with Strawberry Jam
~
 
Pizzas:
~
Champagne & Sparkling Cider
 
Strawberry Sorbet with  Fresh Whipped Cream  


Peter Reinhart's pizza crust recipe was the backbone of the evening, so here's the recipe:

Peter Reinhart's All-Purpose Pizza Dough
Source:  adapted from Better Homes & Gardens Magazine

5 c. unbleached bread flour (22.5 oz.)
1 T. sugar
 1-1/2 t. sea salt
1 t. instant yeast
2 T. olive oil
1 3/4 c. plus 1 T. water, room temperature
olive oil spray

In a large bowl using a large spoon, combine all ingredients.  Mix until ingredients are combined and all the flour is wet.  (Dough will be soft, and gluten won't be fully developed at this point.)

Turn dough out onto lightly-floured counter and knead until dough is smooth and supple, about 3 minutes.  If dough seems very stiff, incorporate more water, a teaspoon at a time, as you mix; if the dough is wet and sticky, sprinkle in more flour as you mix.  Dough should be tacky but not sticky.  Lightly grease a bowl with olive oil.  Form dough into smooth ball and place in a deep bowl, turning to coat the surface with oil.  Cover bowl with plastic wrap but do not let wrap touch dough.  Let dough stand at room temperature 30 minutes, then refrigerate overnight, or up to three days.  (The dough will continue to rise in bowl until it goes dormant from the cold.)

Two hours before you plan to make the pizzas, mist a baking sheet with olive oil.  Cut dough into 4 equal pieces, and form each piece into a smooth, round ball.  Place dough balls on prepared pan, mist lightly with olive oil, and cover lightly with plastic wrap.  While dough proofs and comes to room temperature, prepare toppings and preheat oven.  Stretch into 8-10" rounds and place on parchment paper.  (Be sure to click on this helpful link to learn Peter Reinhart's technique for shaping pizza dough.)

To bake pizzas:
About 45 minutes before baking, arrange an oven rack one-third of the way up from bottom of oven.  Place pizza stone on rack.  Preheat oven to 500 degrees.  Prepare pizzas as directed in recipe.  (You will be baking the pizzas one at a time.)  Using pizza peel or flat cookie sheet, slide topped pizza along with the parchment paper onto the hot baking stone in oven and bake 5-7 minutes until toppings are bubbling, cheese is turning golden, and edges of the pizza are golden brown.  Rotate pizzas halfway through for even baking if necessary.  Remove pizza from oven with peel and allow to stand 5 minutes before slicing.

Yields: 4 crusts

"The quality of the pizza is determined by the crust.  A pizza with a great crust can have anything on it and still be memorable."


Cancer Treatment Centers of America logo, as drawn by my nephew Ricky.  :)
 
(Thanks, Juanita, for snapping most of the pictures!)

Monday, June 18, 2012

Elma's Sour Cherries


My dear friend Elma was kind enough to share her bumper crop of sour cherries with me.


I was so struck with the beauty of not only the cherries,


but their quaint farmhouse property as well...


I'm so grateful for her generosity, both in friendship and food!