All Things Andrea

All Things Andrea

Friday, November 23, 2012

Lard Pie Crust


Hopefully the thought of using lard for pie crust doesn't give you a stroke!!  Unfortunately, it probably does....  Sadly, we've been misled into believing that hydrogenated shortening or even commercial butter is healthier than lard, but that is not the case!!  Lard from a conscientious farmer is far safer to eat than commercial butter, and most definitely better than shortening (please, please, please toss that hydrogenated shortening!!).


 Since I volunteered to bring pies for Thanksgiving dinner tomorrow, I decided it was high time to make the switch to using lard in my pie crusts.


Oh my word, the dough handles beautifully - I couldn't believe it!  The dough seemed to know exactly what to do and happily cooperated.


And, look at the way the lard is wonderfully marbled throughout the dough - that's what gives the crust its flaky texture.

OK, here's the recipe - too simple!

Source:  cooks.com

8 or 9" Single Crust:
1 c. flour
1/2 t. sea salt
1/3 c. lard, chilled*
2 T. water

9" Double Crust:
2 c. flour
1 t. sea salt
2/3 c. lard, chilled*
1/4 c. water

Mix flour and salt in a bowl.  Cut in lard with pastry blender until small pea-size particles are obtained.  Sprinkle with water a little at a time.  Mix with fork until flour is moist.  Press into a ball and turn out onto a floured board.  If making a two-crust pie, divide dough in half.

Roll out with rolling pin.  Take care not to use too much extra flour because it can make the crust tough.  Roll out to desired size, usually about 1" larger than pie pan.  Fold pastry in half and transfer to pan.  Unfold and place pasty into pan.  Try not to stretch the pastry so that it doesn't shrink while baking.  

Follow baking instructions for your particular pie recipe.

*Note:  I bought my lard at Shady Acres, but since then I've discovered Rooster St. Provisions in Elizabethtown.  Rooster St. sells "leaf lard", a higher quality lard from a specific part of the pig which is especially nice for baking since it doesn't have much of a meaty smell.
I store my lard in the freezer.  To make access quick and easy for pie crust baking, I measure out 1/3 c. portions and freeze it individually.  That way, I can simply pull out what I need the night before and let it thaw in the refrigerator.


Today...


This was a project I should have tackled before the weather cooled, but of course I didn't get to it until now.  I've been wanting to update my living room curtain rods with a creamy white shade of paint.  Although it was a lovely day and warm enough, it was too windy to spray paint outside.  So, I got started, but then had to clean up and head to my sister's for Thanksgiving dinner before I finished.  AAAHHH - another unfinished project - the story of my life!!

Sunday, November 11, 2012

Sunday, November 4, 2012

Today's Antique Shop Find


Love, love, love these vintage Christmas ornaments, and am happy to add them to my collection!

Wednesday, October 31, 2012

Sunday, October 28, 2012

Pumpkin Fun and Flavors


  Ricky and I got together this afternoon for pumpkin food and carving.  I cooked; he carved.  :)  Then, we had a fun time making some yummy Rice Krispie Candy-Corn Treats to share with others.

 The menu:


Marbled Chocolate-Pumpkin Brownies


(My sister preferred the no-carving-necessary approach!)

Rice Krispie Candy-Corn Treats


These were lots of fun to make, and easy too!  And, everyone who sampled them loved the bright, unexpected flavor from the orange and lemon zest.

Enjoy!

Source:  Everyday Food magazine, October 2012

9 T. unsalted butter, divided
12 c. miniature marshmallows, divided
3/4 t. fine salt, divided
9 c. crisp puffed-rice cereal, divided
1 T. grated orange zest
yellow and red food coloring
1 T. grated lemon zest

Lightly coat a 5x9" loaf pan with cooking spray.  In a large saucepan, melt 3 T. butter over medium heat.  Add 4 c. miniature marshmallows and 1/4 t. salt; stir until melted.  Stir in 3 c. cereal and immediately transfer to pan.  Coat an offset spatula with cooking spray and firmly press mixture into an even layer.

Rinse saucepan.  Repeat step 1 twice:  To second batch, add orange zest and enough yellow and red food coloring to tine marshmallow mixture orange before adding cereal, then press into pan.  To third batch, add lemon zest and enough yellow food coloring to tint marshmallow mixture yellow.  Press third batch into pan.

Let set 2 hours (or overnight).  Run a small knife around edges of pan and invert loaf onto a cutting board.  With a serrated knife, cut loaf into 10 slices.  Cut each slice in half crosswise.

Using your hands, gently mold each treat into a candy-corn shape.


Sunday, October 21, 2012

It's that time of year again...


... for planting garlic!  At least, for me anyway!  I still don't know the exact planting date to aim for - every gardener, every gardening book, every website has something different to say regarding when to plant garlic - anywhere from 6 weeks before the last date of frost (which would end up being the being the beginning of September for our area) to the shortest day of the year (December 21).  Of course, what zone you live in plays a key role in determining when to plant.  So, I've been keeping track of my planting dates each year, and earlier does seem to make a difference in the size of the mature garlic bulb.  It's often not an option for me to plant in September because there's usually something still growing in the spot I plan to plant garlic for the following year's harvest.  And, even if I aim for a date, it's usually at least two weeks after that that I actually get around to it.  This year I procrastinated, because I just wasn't sure where I wanted to plant based on next year's garden layout (which I haven't figured out yet!).  And, I wasn't sure which of my various garden boxes would give it the ideal growing conditions.  (Am I wearing you out yet?!  Gardening isn't meant to be difficult, but I have a tendency to make it more complicated than it needs to be because I so want everything to turn out well....)  Anyway, a friend's husband said Columbus Day (October 8) is a good time to plant for this area, and I think he's probably right.

Except for knowing when to plant it, I think growing garlic is the coolest thing.  And, once you start growing your own garlic, if you plant enough the first year and save enough bulbs for the fall planting, you never need to buy garlic again!  (How's that for a deal?!)  I intentionally planted enough last year so that I would have some extra to share with other gardening friends, so they in turn could start their own garlic crops and become sustainable garlic growers too.  Most commercial garlic is imported from China and has been infested with who-knows what and who-knows-how-many chemicals, so growing your own garlic or at least buying local garlic is a very, very good thing, not to mention a flavorful endeavor! 


My garlic stash is the offspring of some local garlic that was given to me by a friend 2 years ago.  It's been easy to grow and stores beautifully.  When you're ready to plant, simply select your biggest and healthiest-looking bulbs,


separate them into cloves, then plant the cloves 1-2" deep with the pointed end facing up.  I use the square-foot gardening method and plant 9 cloves per square.  They behave similar to a spring-flowering bulb - they get planted in the fall, get a start on their growing if they are planted early enough, they take a rest over the winter, then send up their green stalks in the spring, then send up their lovely flowers (otherwise known as garlic scapes) sometime in June, and the garlic bulbs are harvested shortly after that (when about 1/3 of the foliage has turned brown).


In addition to anticipating an abundant garlic crop next year, I'm also looking forward to trying out some more garlic-scape recipes in June!

Sunday, October 14, 2012

Green Beans!


This is what I missed when I was gathering up all my garden produce in the dark the other evening!  At first I was distressed, thinking the frost had damaged them too much.  But, on closer inspection, they seemed to have survived well enough, although the green beans should have been picked over a week ago; I didn't even realize I had another picking waiting for me.  I was afraid the beans would end up going to waste, but then I remembered my foodie friend Julia telling me about a Cream of Green Bean Soup she makes with beans that are on the mature side.  So, that's what these are destined to become!

Triplets!

Saturday, October 13, 2012

Final Haul


This is the haul from last night - frost was in the forecast, so I gathered up all the frost-sensitive produce (with the help of my forehead flashlight since it was dark by the time I got home!).  I always hate to pick my produce and end its growing season, just in case the forecast wouldn't come to pass, but I'm glad I did...


... since it was a record hard frost for this area.


But, there's lots more frost-hardy produce waiting to be used in my garden in addition to the broccoli that doesn't mind the cold - arugula and baby lettuce (they survived the frost with some protection), Swiss chard, kale, beets, carrots and even a few sugar peas.

:)


Tuesday, October 9, 2012

Bananas, Bananas, Bananas....


I'm pretty zealous these days about eating local, in-season produce.  I so believe in this approach to eating, and have come to love local produce over exotic fruits and veggies.  BUT, I simply could not pass up a 40-pound case of organic bananas for only $6.00 at Root's this evening!!  They make the best dehydrated bananas, or banana candy, as my nephew likes to call them.  So, now I know what I'll be up to this week!  :)

Sunday, October 7, 2012

Homegrown Popcorn


At my request, my soon-to-be-87-year-old father was gracious enough to grow some popcorn for me this year.  I just don't have enough space to grow corn in my garden, but my dad has a large garden and is still agile enough to exercise his green thumb.  

He grew two varieties for me,

 
a Strawberry popcorn which can be used for ornamental purposes OR for eating,


and the Snowpuff variety. 

We had no trouble shelling the white popcorn, but we had a terrible time with the Strawberry.  In fact, my dad insisted that I didn't know what I was talking about, and that the Strawberry wasn't meant to be eaten.  But, I double checked the Rohrer Seeds catalog when I got home, and indeed it said it can be popped into fluffy white popcorn.  When I get hungry enough, I'll work at shelling it.  But for now, it's being used for decoration. 

:)

Thursday, September 20, 2012

Better Brown Rice


I just came across the article "Better Brown Rice" in the September issue of Martha Stewart Living magazine and was intrigued - their food editors say to ignore the cooking instructions found on most brown rice packages and use less water and cook it for a shorter period of time, yielding "fluffy, nutty-flavored grains that hold up well in the refrigerator or freezer."  I can never seem to get my brown rice to turn out right - I usually end up burning it or end up with a mushy mess.  And, because of my dilemma, I was considering purchasing a rice maker, even though I hated the thought of adding another appliance to my cupboard.  So, I thought it was certainly worth giving this method a try.  And it was definitely worth it!!  It resulted in almost a totally different product!  I'm eager to try this with fried rice and several other salad recipes using cooked rice.  Hooray!

Directions:
1 c. long-grain brown rice
1 1/4 c. water (1 1/2 c. if using short-grain rice)*
1/4 t. sea salt

Bring rice, water and salt to a boil in a wide, shallow pot with a tight-fitting lid.  Cover and reduce to a slow, steady simmer.  30 minutes should be plenty. 

After 30 minutes, remove from heat and let the cooked rice sit for 10 minutes, covered, to absorb maximum moisture.  Remove the lid, and fluff the grains with a fork.

Yields about 2 1/2 c.

*Note - I found that I preferred using 1 1/2 c. water even when using long-grain brown rice.  Also, you may wish to add more salt, depending on how you will be serving the rice.

Sunday, September 16, 2012

Fort Hunter Day 2012


I had another enjoyable day at Fort Hunter Day this year,


demonstrating hand quilting,


hand applique, and yo yo's (gotta love those yo yo's!).

It was so much less work than last year or the year before - all I had to do was load up a few things and enjoy a day of stitching and interacting with the guests!  I also had the chance to pop in to see the quilt display over at the Centennial barn.  The African American Quilters Gathering of Harrisburg, a newly formed quilt guild, put together an amazing display of their quilts - I had never seen or experienced anything like it.  So much energy and life eminated from their quilts!!  It was fun meeting and chatting with some of their members.


It was a beautiful day,


 and a wonderful setting.


Wednesday, September 12, 2012

This is what happens....


... when you wait too long to pick your eggplant!  I'm ashamed to even admit it - I had two beautiful, glossy purple eggplants hanging from my plant, but I kept procrastinating picking them because I just didn't know how I wanted to prepare them.  I know they're best eaten immediately after harvesting, so I didn't want to pick them until I was ready to cook them.  I had tried cooking eggplant a few years ago, and wasn't impressed, but since them I have collected a number of yummy-sounding recipes.  So, even though I was determined to find a better way to prepare this gorgeous produce, I just didn't have the time or mental energy to tackle it.  Then, the plant blew over in a rainstorm and ended up being hidden by a huge bunch of  kale; I basically forgot about it until the other evening when I was cleaning up the garden.

Since I had been so irresponsible in letting these precious vegetables get this mature, I decided I would eat them anyway as pennance.  I remembered an Italian co-worker telling me that mature eggplants are fine to use as long as you peel them.  So, I selected one of the eggplants, held my breath and cut it open, expecting it to be brown and nasty-looking inside. 


It wasn't!  In fact, it looked just fine to me (but what would I know?!).  I proceeded - I peeled it, cut it into cubes, tossed it in olive oil and and roasted it (my favorite way to cook any vegetable these days).

I was very pleasantly suprised to find that not only was it edible, it was delicious!!  (No pennance whatsoever!)  The texture was perfect, and it wasn't even bitter!  (I'm sure the roasting helped to sweeten any bitterness.)  I was so, so pleased!  I simply tossed it with some fresh mozzarella, fresh basil, a roasted red pepper and some wonderful sweet balsamic viniagrette.  (This basically ended up being a simple version of one of recipes I had collected.)  You can view my recipe (if that's what you call it!) here.

Fabulous!

Thursday, August 23, 2012

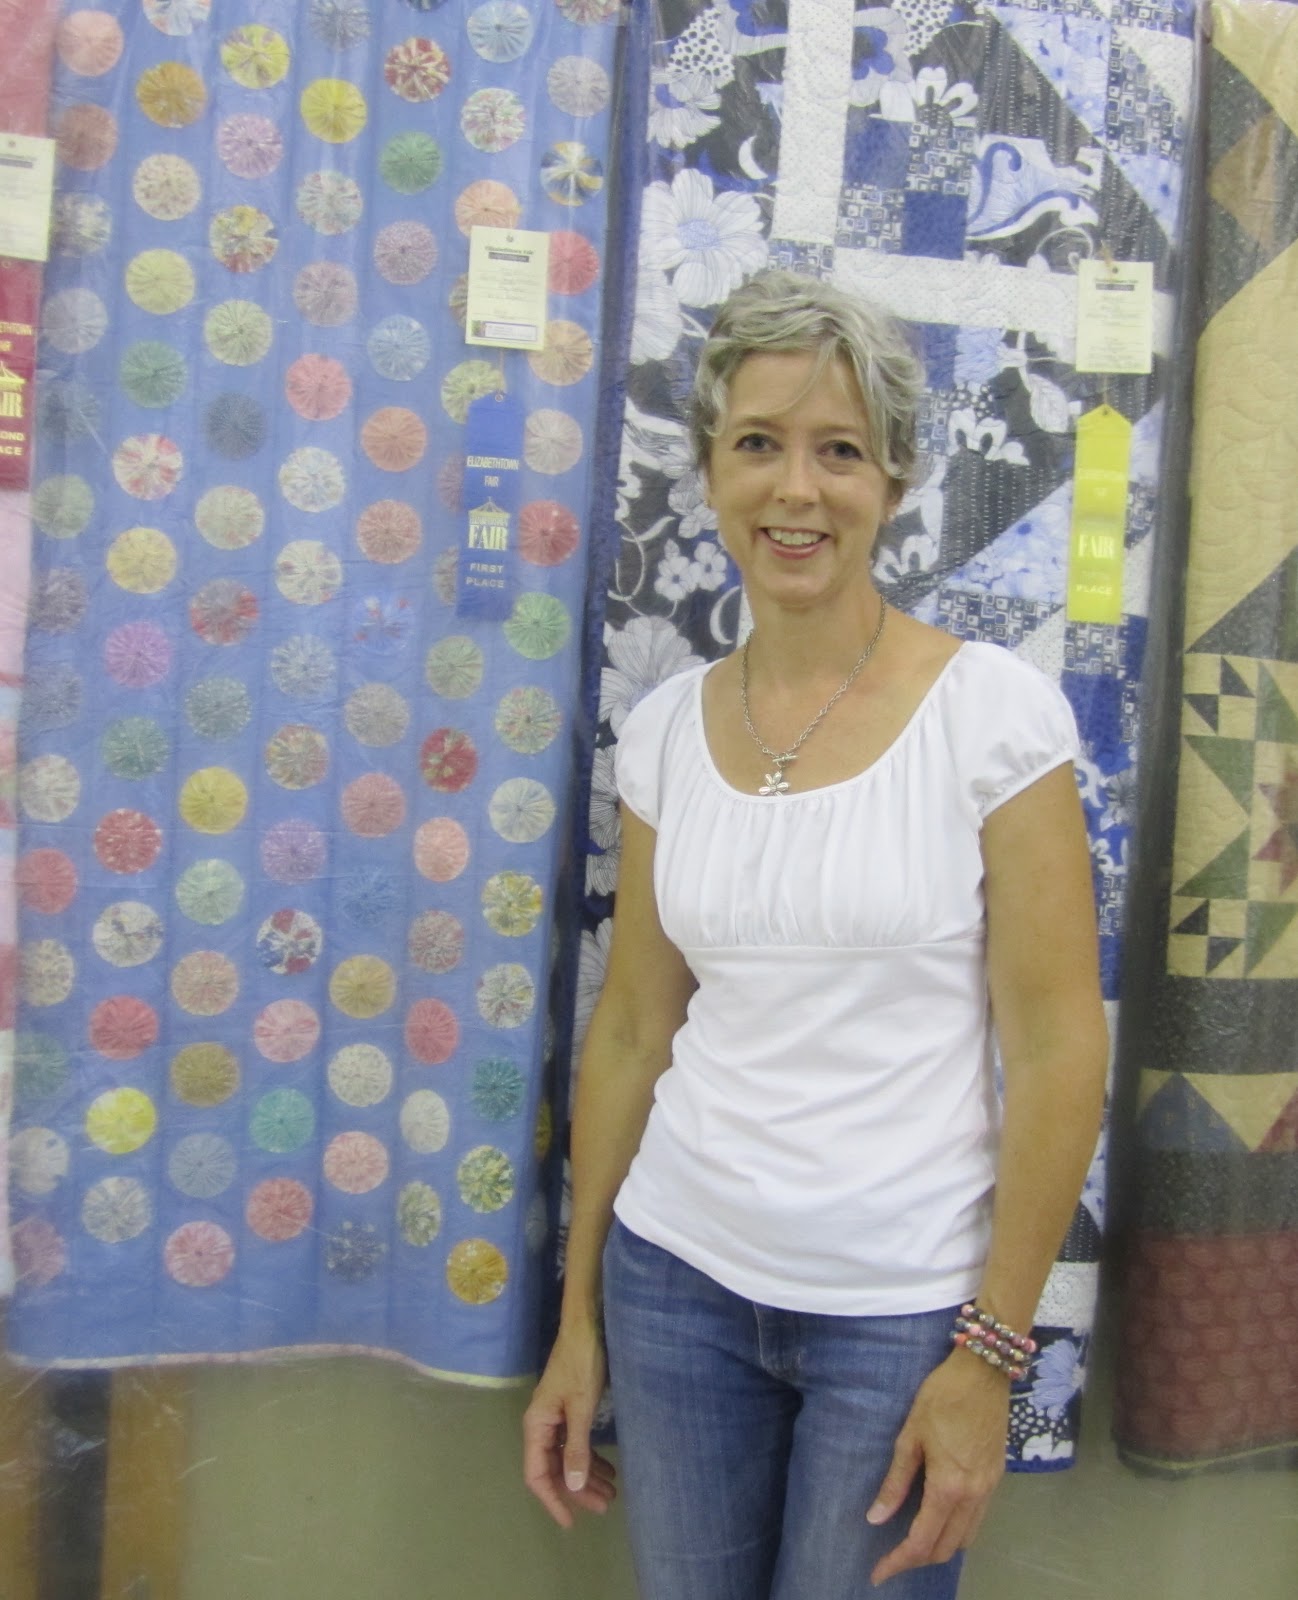
Elizabethtown Fair 2012

 409 Yo Yo's later!

A basket quilt comprised of 162 basket blocks made out of 1930's reproduction prints (I'd been working on this off and on for 5 years!).

The Snoopy T-shirt quilt I made for my sister Alison.

I also entered a quart jar of Corn Cob Stock (did you even know there was such a thing?!),

some dehydrated blueberries,

a variety of herbs,

my beloved garlic (unfortunately, the judges weren't as enamored with it as I am!),

and a Christmas ornament made out of buttons from my mother's button jar (way too much competition in this category).

My sister and Ricky also entered a few things; here's his white-ribbon gel candle.  :)

I also thoroughly enjoy looking at the other entries.  Here's a few of my favorites:

My neighbor's Christmas tree artwork made out of her family's vintage jewelry